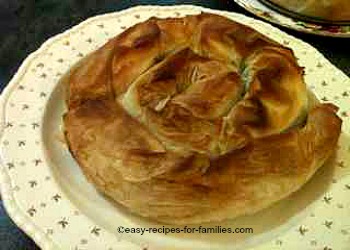
How To Cook Spinach
Learn how to cook spinach to make this pie filling for an elegant divine best pumpkin pie in delicate filo pastry.
Cook the spinach filling
Step 1:
Either cook the fresh spinach and puree it oruse 8 oz/ 250 gm of frozen spinach.
I use frozen spinach as it is far more convenient and it saves the step of preparing the spinach to cook.
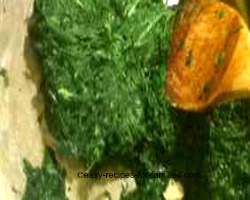
In this image, I plonked the frozen block of spinach into a saucepan and defrosted it on high heat stirring a little water through it constantly, to prevent it sticking to the pan.
Once defrosted, remove from the heat immediately.
Step 2:
Add the other half of the Fetta and Ricotta Cheeses.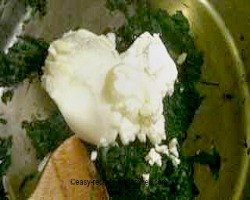
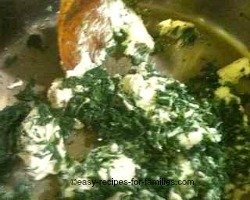
Step 3:
Combine the cheeses and spinach well.Season with salt and pepper, as suits.
Stir till smooth.
Step 4:
Here is the seasoned spinach filling. Do a taste test to suit you.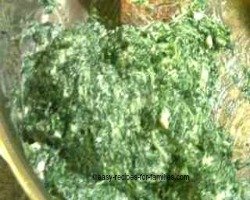
Leave this delicious spinach pie filling aside for the moment while you attend to the other steps.
If cooking with fresh spinach leaves, here is the procedure
Spinach is rich in iron and cooks easily. If you 're cooking it fresh, rinse the leaves carefully by soaking them in a basin of cold water. Rinse them them a couple of times to remove dirt and soil.
Trim the thick white stems and discard.
Chop up the leaves into pieces 1 inch wide. Pop them into a large pot of salted boiling water.
The spinach leaves when cooked will reduce significantly in size. Cook till soft.
Remove the leaves and drain them.
The spinach leaves need to be cooked till they are soft enough to be mashed for the pie filling.
Fresh spinach often leaves an unpleasant "furry" sensation in the mouth, and I've found that frozen spinach does not. As a result we eat this popular vegetable as a frozen product.
easy recipes from our hundreds of recipe and meal ideas. There are loads of recipes like this, with step-by-step detailed photo instructions.
|
|
|


Comments