Christmas Cookie Recipes With Pictures

In this last stage for this tutorial: Christmas cookie recipes with pictures, we'll learn how to transform the lump of cookie dough into lovely and tasty Christmas cookies. This is yet another of our easy recipes that look terrific but takes little effort.
If you'd like the full recipe, just click on the button:
In the previous step of this recipe tutorial with detailed pictures, we learned the incredibly easy way to make this Christmas Cookie just in one sauce pan. To see those step by step pictures, click on the button:
Final Steps For "More-ish" Christmas Cookies
For this stage, you'll require:
- The cookie dough you've just made
- Non-stick cookie sheet or lined and greased baking tray
- Christmas cookie cutters
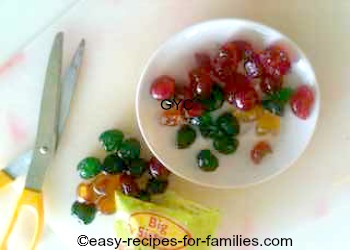
- Christmas cookie decorations of your choice:
- Glace cherries
- Colored decorative gel
- Sugar balls
Preparation:
Before we do anything else, turn the oven on to preheat at 350F/180C. Preheating is important so that the whole oven cavity is at an even temperature.
Line and grease your baking tray if you're not using non-stick cookie sheets.
Let's make them!
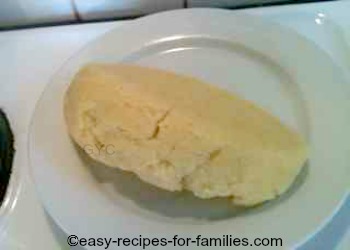
Ok, so here's the dough you've just made. See how it has clumped together as a roll. It happened naturally as you combined the mixture.
...and it was really easy to make, wasn't it.
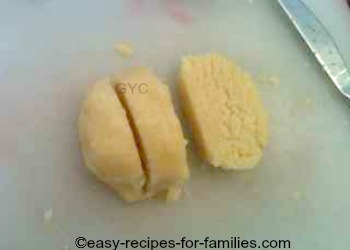
Using a blunt knife cut the roll into thirds, only because a smaller amount makes it easier to work with.
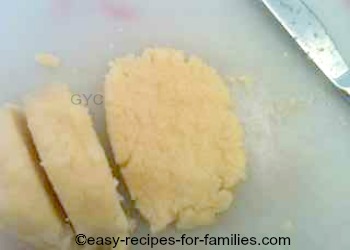
Place it on a chopping board and cut it into slices about 1/3 inch thick.
Spread the cut slices so that there's ample room around each to work. Using your fingers, press and flatten a slice so that it spreads out. If you want to be perfect about it, use a rolling pin, but I like the rustic wholesome look, so fingers do just fine. :)
The squashed piece will be about 1/4 inch thick.
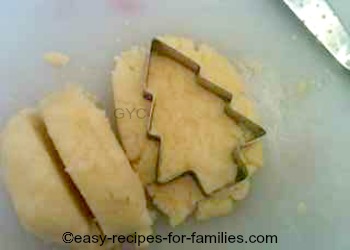
Apply your selected Christmas cookie cutter to the slice of dough and press firmly.
Wriggle the cutter a little so that the excess dough moves away from the shaped cookie.
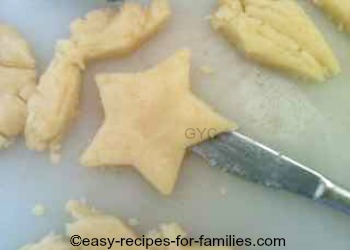
Remove the Christmas cookie cutter and using a blunt knife, lift the shaped cookie onto the non-stick cookie sheet or lined and greased baking tray.
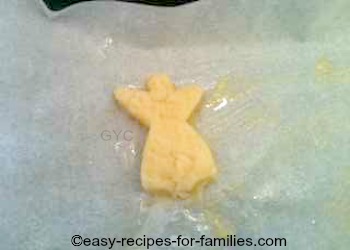
Here it is placed on the baking tray.
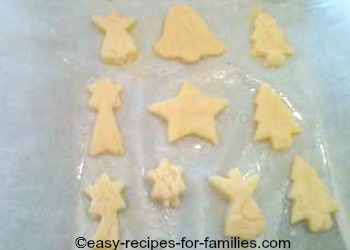
Repeat, placing the shaped cookies onto the tray or cookie sheet in neat rows.
If you want to decorate with glace cherries, cut them into little pieces and press them into the cookie now.
Leave some plain to decorate with gel when cooled.
Bake for 15- 18 minutes till just golden brown.
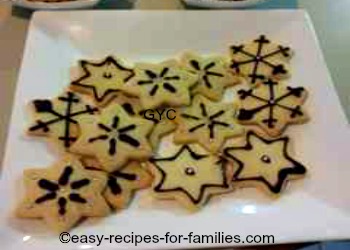
I hope you've enjoyed working through these 3 pages of Christmas cookie recipes with pictures - aren't these just sensational, yet so easy to make?
Tips
Take them out of the oven as soon as they're about to brown. Don't leave them in the oven for a minute longer.
When cooled, decorate with chocolate gel and sugared balls to get the effect as in the pictures.
Or use green and red gel and just have fun decorating!
Serve immediately on a lovely Christmas tid-bit plate.
To store, keep in an air tight container in a cool spot but not in the refrigerator.
|
|
|


Perfect For Afternoon Tea

About Privacy Disclaimer Copyright Affiliate Disclosure Search Site Map
Caution: 20MinuteCook.com will report copyright violators to
Google. Websites that take images or imitate content can lose their
Google Adsense and/or publishing privileges.
Disclosure: Please know that if you make a purchase by clicking on a link or banner ad on this page, I may earn a commission. I am very grateful for your support of this site. Thank you.
Comments