Photo Tutorial
Chocolate Desert
Related |
Click on the button to go to the recipe on How to This Delicious Chocolate Desert.
Hands-On Time: Putting the ingredients together even for novice cooks will take no longer than 10 mins.
Hands-Off Time: Baking takes just 10 to 12 mins.
Step by Step Photo Instructions
Chocolate Desert - Done in 20 Minutes
Click on the images below to open a larger photo with detailed instructions
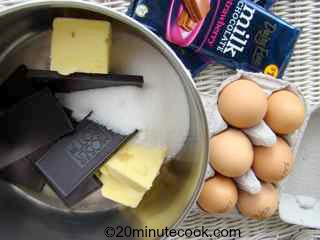
Get together the ingredients
|
Go to the recipe for the full list of ingredients. You can see here, you'll need
Click on the button above for the desert recipe proportions. |
Before you start with the recipe, turn on the oven to preheat, so that oven cavity at an even temperature when the muffin trays go in.
Step 1: Throw the ingredients in the pot
|
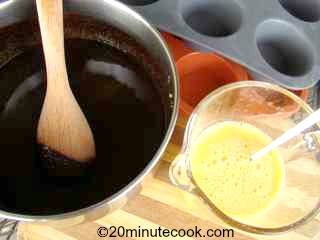
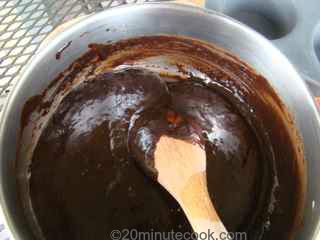
When you melt chocolate, it is very important never to over cook it. Once it becomes granular, it is over cooked and it will not become smooth. Take it off the heat as soon as it all starts to blend and melt together. |
Now, expert cooks throw the lot in...yep, eggs, flour the lot. But here I show you what the mixture looks like when you add the beaten eggs. |
|
Just look at the beautifully smooth chocolate mixture. It's just divine. This is when the eggs are mixed in - the texture is a little thicker and slickly smooth. |
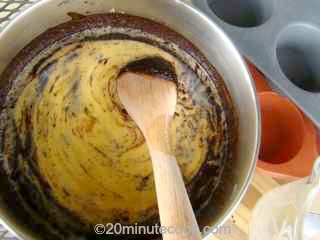
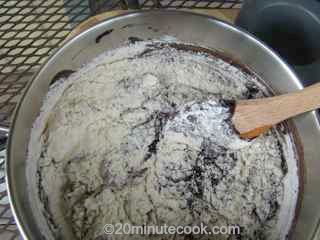
Now toss in the flour. There's no need to be precious about this. I don't bother sifting. Just measure in a measuring cup and plonk it in. |
|
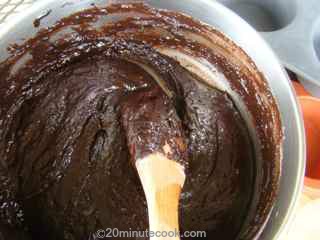
Keep folding till all the white floury bits are combined and the batter looks like this - thick and evenly chocolately. |
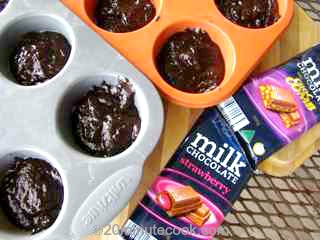
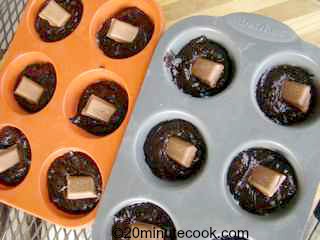
Pour into muffin trays. Break up the block of chocolate with runny centers. I used strawberry and caramel centers. |
Step 2: Bake for only 12 mins
|
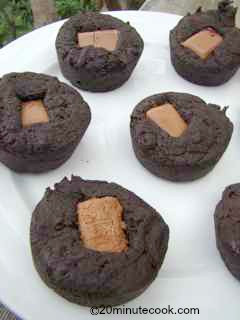
Press the chocolate into the middle of the batter. Bake for about 12 minutes. The idea is to have the outside firm, but runny in the middle. |
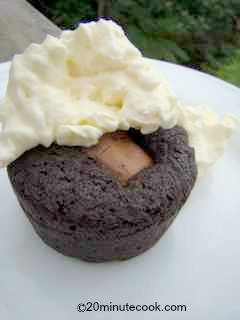
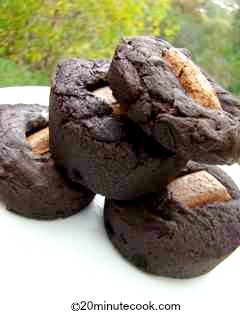
This desert is just divine! Baking for 15 minutes results in a pretty firm, actually hard muffin. That's ideal if they're to be consumed in a picnic or for lunch boxes. |
Enjoy!
|
The same recipe but cooked a little while longer and packed for lunch boxes and perfect for picnics. |
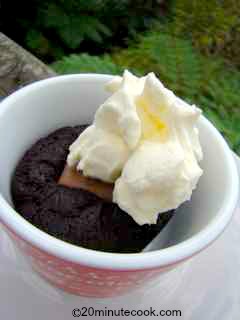
For desert, we serve with thickly whipped cream. Scrumptious! |
20 Minute Cook › Desserts › Photo Tutorials › Chocolate Desert Photo Tutorial
|
|
|









Comments